Bootstrap Header Class
Intro
Just as within published documentations the header is just one of the very most essential components of the website pages we build and obtain to apply every day. It tightly maintains one of the most critical information on the identification of the establishment or else person behind the web page itself and the importance of the entire web site-- its navigation building which in addition to the Bootstrap Header Class itself must be thought and crafted in such method that a website visitor rushing or certainly not actually realizing in which way to go to just take a look at and discover the needed information. This is the preferred case-- in the real life obtaining as close as possible to this appearance and attitude in addition proceeds due to the fact that we practically every time have some project special limits to think about. Additionally unlike the written documentations all over the world of net we should always remember the selection of possible devices on which our webpages could probably get showcased-- we must ascertain their responsive activity or to puts it simply-- ensure they will present most effective at any display screen size achievable.
So let us have a glance and check out exactly how a navbar gets established in Bootstrap 4. ( more helpful hints)
Steps to work with the Bootstrap Header Design:
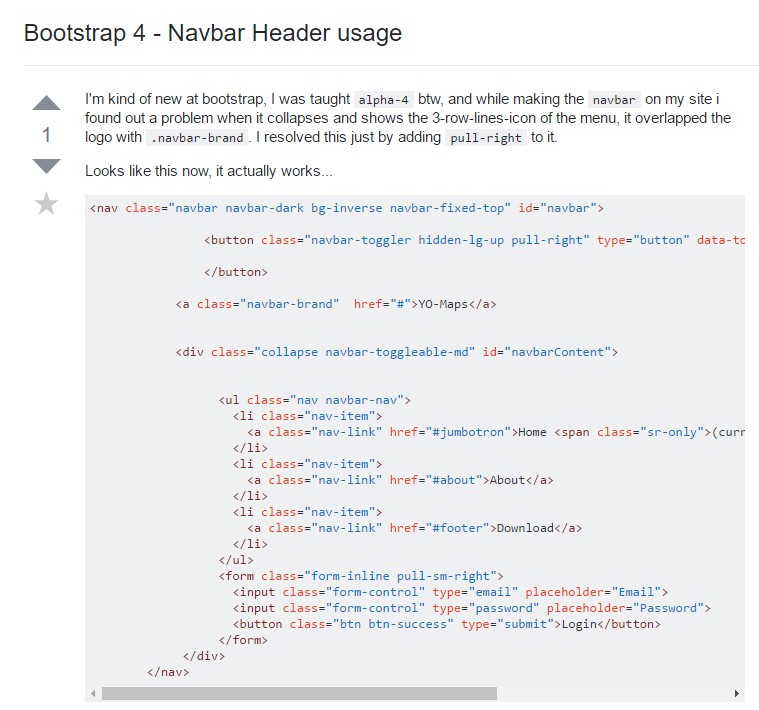
First to develop a webpage header or given that it gets knowned as within the framework-- a navbar-- we ought to wrap the whole thing inside a
<nav>.navbar.navbar-toggleable- ~ screen size ~.bg-*.navbar-light.navbar-lightWithin this parent component we should start off by inserting a switch component which will be applied to present the collapsed information on a smaller sized display screen dimensions-- to achieve that set up a
<button>.navbar-toggler.navbar-toggler-left.navbar-toggler-righttype = " button "data-toggle ="collapse"data-target = " ~ the collapse element ID ~What is actually bright fresh for latest alpha 6 release of the Bootstrap 4 framework is that within the
.navbar-togler<span>.navbar-toggler-icon<a>.navbar-brand<div class="img"><img></div>Now-- the important element-- setting up the collapsible container for the fundamental internet site navigation-- to do it make an element by using the
.collapse.navbar-collapseid =" ~ same as navbar toggler data-target ~ ".collapse<ul>.navbar-nav<ul><li>.nav-item<a>.nav-link.nav-item.nav-link.nav-item.dropdown<li>.dropdown-toggle.nav-link.nav-item<div>.dropdown-menu.dropdown-itemRepresentation of menu headers
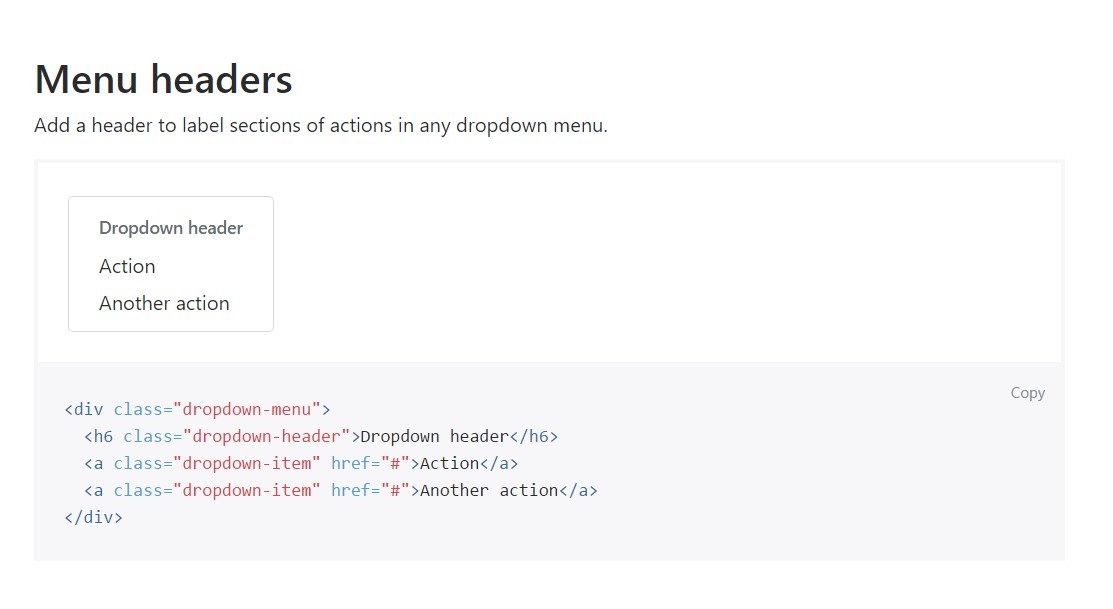
Add in a header to label areas of activities in any dropdown menu.
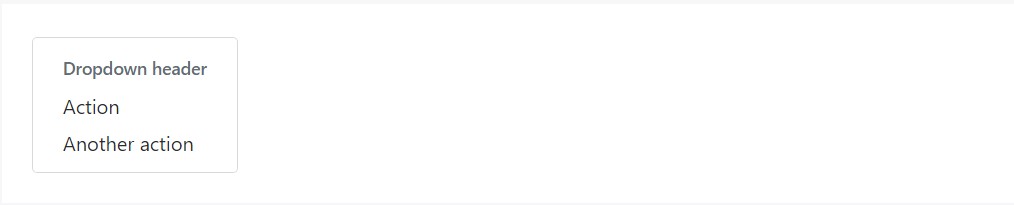
<div class="dropdown-menu">
  <h6 class="dropdown-header">Dropdown header</h6>
  <a class="dropdown-item" href="#">Action</a>
  <a class="dropdown-item" href="#">Another action</a>
</div>
Other features
One more brand new thing for this edition is the option to add an inline forms in your
.navbar.form-inline<span>.navbar-textFinal thoughts
As soon as it comes down to the header components in recent Bootstrap 4 version this is being simply taken care of with the constructed in Collapse plugin and several site navigation special material classes-- some of them produced primarily for keeping your label's identity and various other-- to get certain the real webpage navigational system will show best collapsing in a mobile phone style menu when a indicated viewport size is reached.
Take a look at some online video training about Bootstrap Header
Linked topics:
Bootstrap Header: approved information
Bootstrap Header information
Bootstrap 4 - Navbar Header handling