Bootstrap Radio Style
Introduction
In some instances the tiny things occur to be the highly critical given that the whole entire image is actually a whole featuring several mini components enhanced and compiled for observe and feature like a well-oiled bright machine. These spicy words might appear a bit too much once it goes to form controls yet supposing that you just consider about it for a little bit there is actually only a single component permitting the visitor to get one out of a few available solutions.So in the event that you're featuring several forms using this sort of selections controls over your different websites does this suggest they are going to all look equivalent? And more significantly-- would you agree to that?
Happily for us the latest edition of ultimate favored mobile friendly framework - Bootstrap 4 arrives totally packed having a bright brand-new treatment to the responsive behavior of the Bootstrap Radio Button commands and just what is bright new for this version-- the so called custom made form regulations-- a combination of predefined looks you have the ability to simply take and employ if you want to add in the so wanted nowadays range in the visual presentations of basically uninteresting form components. Therefore let's take a look precisely how the radio switches are expected to be described and designated in Bootstrap 4. ( see post)
Tips on how to employ the Bootstrap radio button:
If you want to establish a radio switch we initially need to have a
<div>.form-check.form-check-inline.radio.radio-inline.disabledInside the
.form-check<label>.form-check-label<input>.form-check-inputtype = “radio”name = “ ~ same name for all the options ~ ”id = “ ~ unique ID ~ “value=” ~some value here ~ ”disabled<input>This is additionally the place to characterize if you want the radio control to at first load like checked the moment the webpage gets loaded. Supposing that this is certainly what you are actually looking for-- as opposed to
disabledchecked<input>checkedCheckbox and Bootstrap Radio Inline some examples
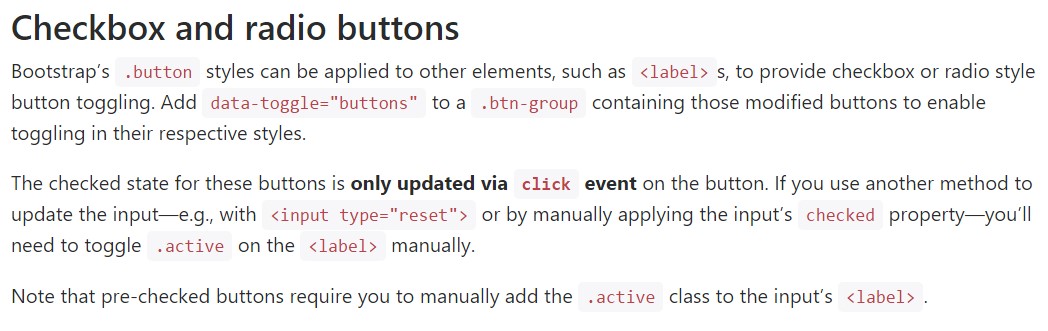
The checked state for these buttons is only up-dated via click event on the button. If you apply one more method to upgrade the input-- e.g., with
<input type="reset">.active<label>Note that pre-checked buttons need you to manually add in the
.active<label>Checkbox

<div class="btn-group" data-toggle="buttons">
  <label class="btn btn-primary active">
    <input type="checkbox" checked autocomplete="off"> Checkbox 1 (pre-checked)
  </label>
  <label class="btn btn-primary">
    <input type="checkbox" autocomplete="off"> Checkbox 2
  </label>
  <label class="btn btn-primary">
    <input type="checkbox" autocomplete="off"> Checkbox 3
  </label>
</div>
Radio

<div class="btn-group" data-toggle="buttons">
  <label class="btn btn-primary active">
    <input type="radio" name="options" id="option1" autocomplete="off" checked> Radio 1 (preselected)
  </label>
  <label class="btn btn-primary">
    <input type="radio" name="options" id="option2" autocomplete="off"> Radio 2
  </label>
  <label class="btn btn-primary">
    <input type="radio" name="options" id="option3" autocomplete="off"> Radio 3
  </label>
</div>
Radio button feature
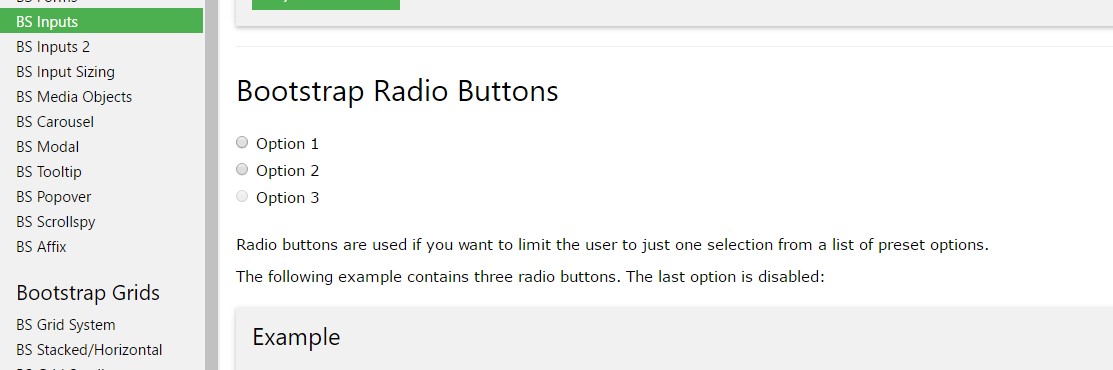
We are able to apply input elements of the radio form if we wish the user to go for simply one of a variety of selections. ( more tips here)
Just one particular might be picked out if there is more than one particular element of this particular option by having the exact same value in the name attribute.

<div class="row">
  <div class="col-lg-6">
    <div class="input-group">
      <span class="input-group-addon">
        <input type="checkbox" aria-label="Checkbox for following text input">
      </span>
      <input type="text" class="form-control" aria-label="Text input with checkbox">
    </div>
  </div>
  <div class="col-lg-6">
    <div class="input-group">
      <span class="input-group-addon">
        <input type="radio" aria-label="Radio button for following text input">
      </span>
      <input type="text" class="form-control" aria-label="Text input with radio button">
    </div>
  </div>
</div>
Conclusions
Basically this is the method the default radio tabs get specified and carry on throughout within Bootstrap 4-- now everything you need to have are several possibilities for the visitors to pick from.
Take a look at a couple of online video information about Bootstrap Radio Button:
Connected topics:
Bootstrap buttons main information
Bootstrap Radio button - training
Checkbox radio buttons break entire toolbar styling
